

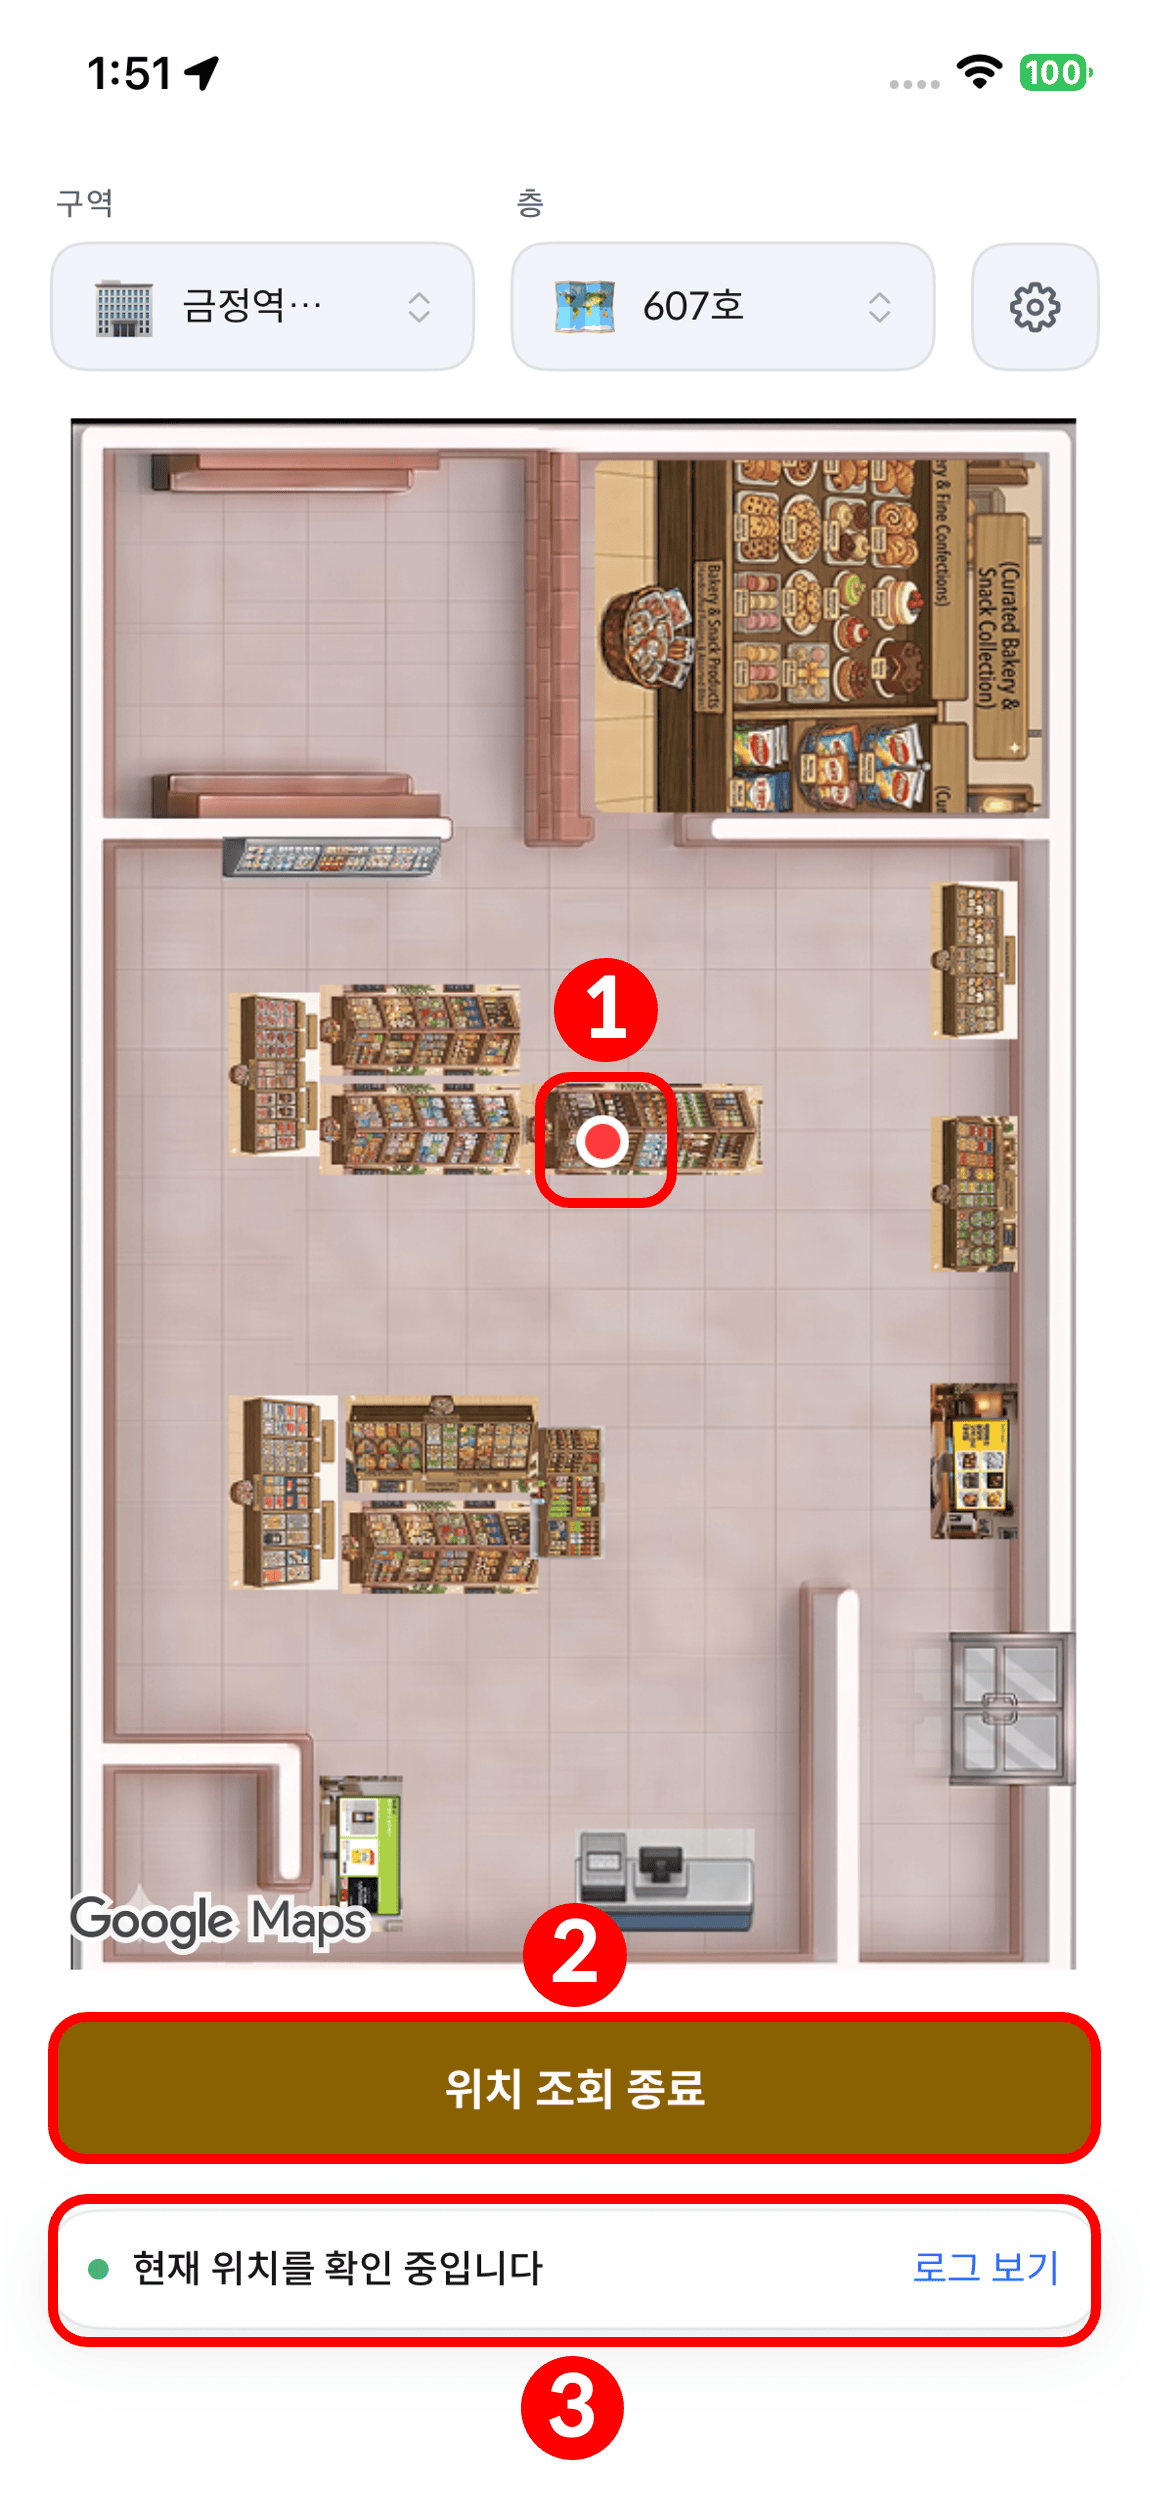
What it looks like when finished — the verification app shows your position in real time
If you want to know what positioning is first, read the Positioning Integration Overview.
If the terms (anchor, UWB, zone) are unfamiliar, they are collected in Concepts & Glossary.
What to prepare before you start
Without these three things you will stall partway through. Secure them before you begin.Accounts — you need two: GeoSpace and the OneS1ght console
Accounts — you need two: GeoSpace and the OneS1ght console
Both services are invite only. There is no self sign-up, so if you have not been invited,
contact
support@ones1ght.com first.The two consoles use different role names. GeoSpace uses
admin · operator · viewer,
the OneS1ght console uses owner · manager · viewer.Hardware — four or more AN-500 anchors
Hardware — four or more AN-500 anchors
The AN-500 anchors and power adapters are supplied by OneS1ght when you adopt the service — confirm quantities and delivery dates with your contact.
You prepare the rest (power strips, tripods, tape measure, tape) on site. The full list is in Before You Install.
Floor plan — a plan image that matches the real layout
Floor plan — a plan image that matches the real layout
You need a floor plan in PNG or JPG. It must match the real layout of the space,
and it has to show a stretch of known real-world length — a wall or a column — so you can set the scale.
Test device — an iPhone with UWB support
Test device — an iPhone with UWB support
Check the iOS version under Settings → General → About, and if it is below 27, update it under Settings → General → Software Update.
You will use this device for the verification stage, so have it ready in advance.
The seven stages
Each stage is a prerequisite for the next one. Do not skip ahead — work through them in order.Stages 1–7 require no code — an operations owner can carry them out with console settings and on-site work alone,
and the check is done by installing the verification app you were given. Code only appears when you put positioning into
the customer app, in the Developer Guide (SDK), and that is an optional stage —
if you only take the coordinate data and use it directly in your own system, the journey ends before SDK integration.
After positioning — putting the console to work
Once you finish stage 7, positions are being resolved and your real floor plan is connected in the console. From here on it is about what you do with that data.Zone setup
Draw the zones you want to detect on the floor plan. They are the basis for enter, exit and dwell events.
SDK key issuance
Issue the
ock_sdk_ key that goes into the app.Integrate the SDK into your app
Add the positioning library to the customer app.
Where people get stuck
These are the three most common blockers on a first build. Knowing them in advance saves time.Partner key issued but never registered in the console (stage 6)
Partner key issued but never registered in the console (stage 6)
Issuing the key in GeoSpace and registering that key in the OneS1ght console are two separate jobs.
If you skip the registration, the console shows a sample floor plan instead of your store (simulation mode).→ Do both the issuance and the registration in one pass in 6. Positioning Connection · Key Issuance.
Mistaking the coordinate origin for the corner of the room
Mistaking the coordinate origin for the corner of the room
The coordinate origin on the floor plan placement screen is (0, 0) of the whole uploaded image, not the corner of the room.
If the image includes margins or exterior walls, you have to add that offset to the values you enter.For example, if the bottom-left corner of the room sits (0.6, 1.5) away from the image origin,
an anchor you measured as (0, 0) on site is entered as
(0.6, 1.5).→ See Floor Plan Placement for a worked example.Installing all the anchors along one wall
Installing all the anchors along one wall
If the four anchors are bunched on one side or sit close to a straight line, position error grows sharply.
Place them as a rectangle enclosing the detection area, surrounding the target from four corners.→ See Anchor Installation.
Get started
Stage 1 · Start with Before You Install
Start by surveying the site and deciding anchor positions.
If you get stuck along the way, look up your symptom in Troubleshooting or
contact
support@ones1ght.com.