Hardware registration prepares the locators that were installed and powered in 4. On-Site Locator Installation to be registered with the GeoSpace server. Once you configure Wi-Fi on each locator with the GeoSpace Mobile app, the locator connects to the GeoSpace server, and the server recognizes the connected device and registers it automatically.
This manual is written for iOS (iPhone).

1) Installing GeoSpace Mobile and Logging In
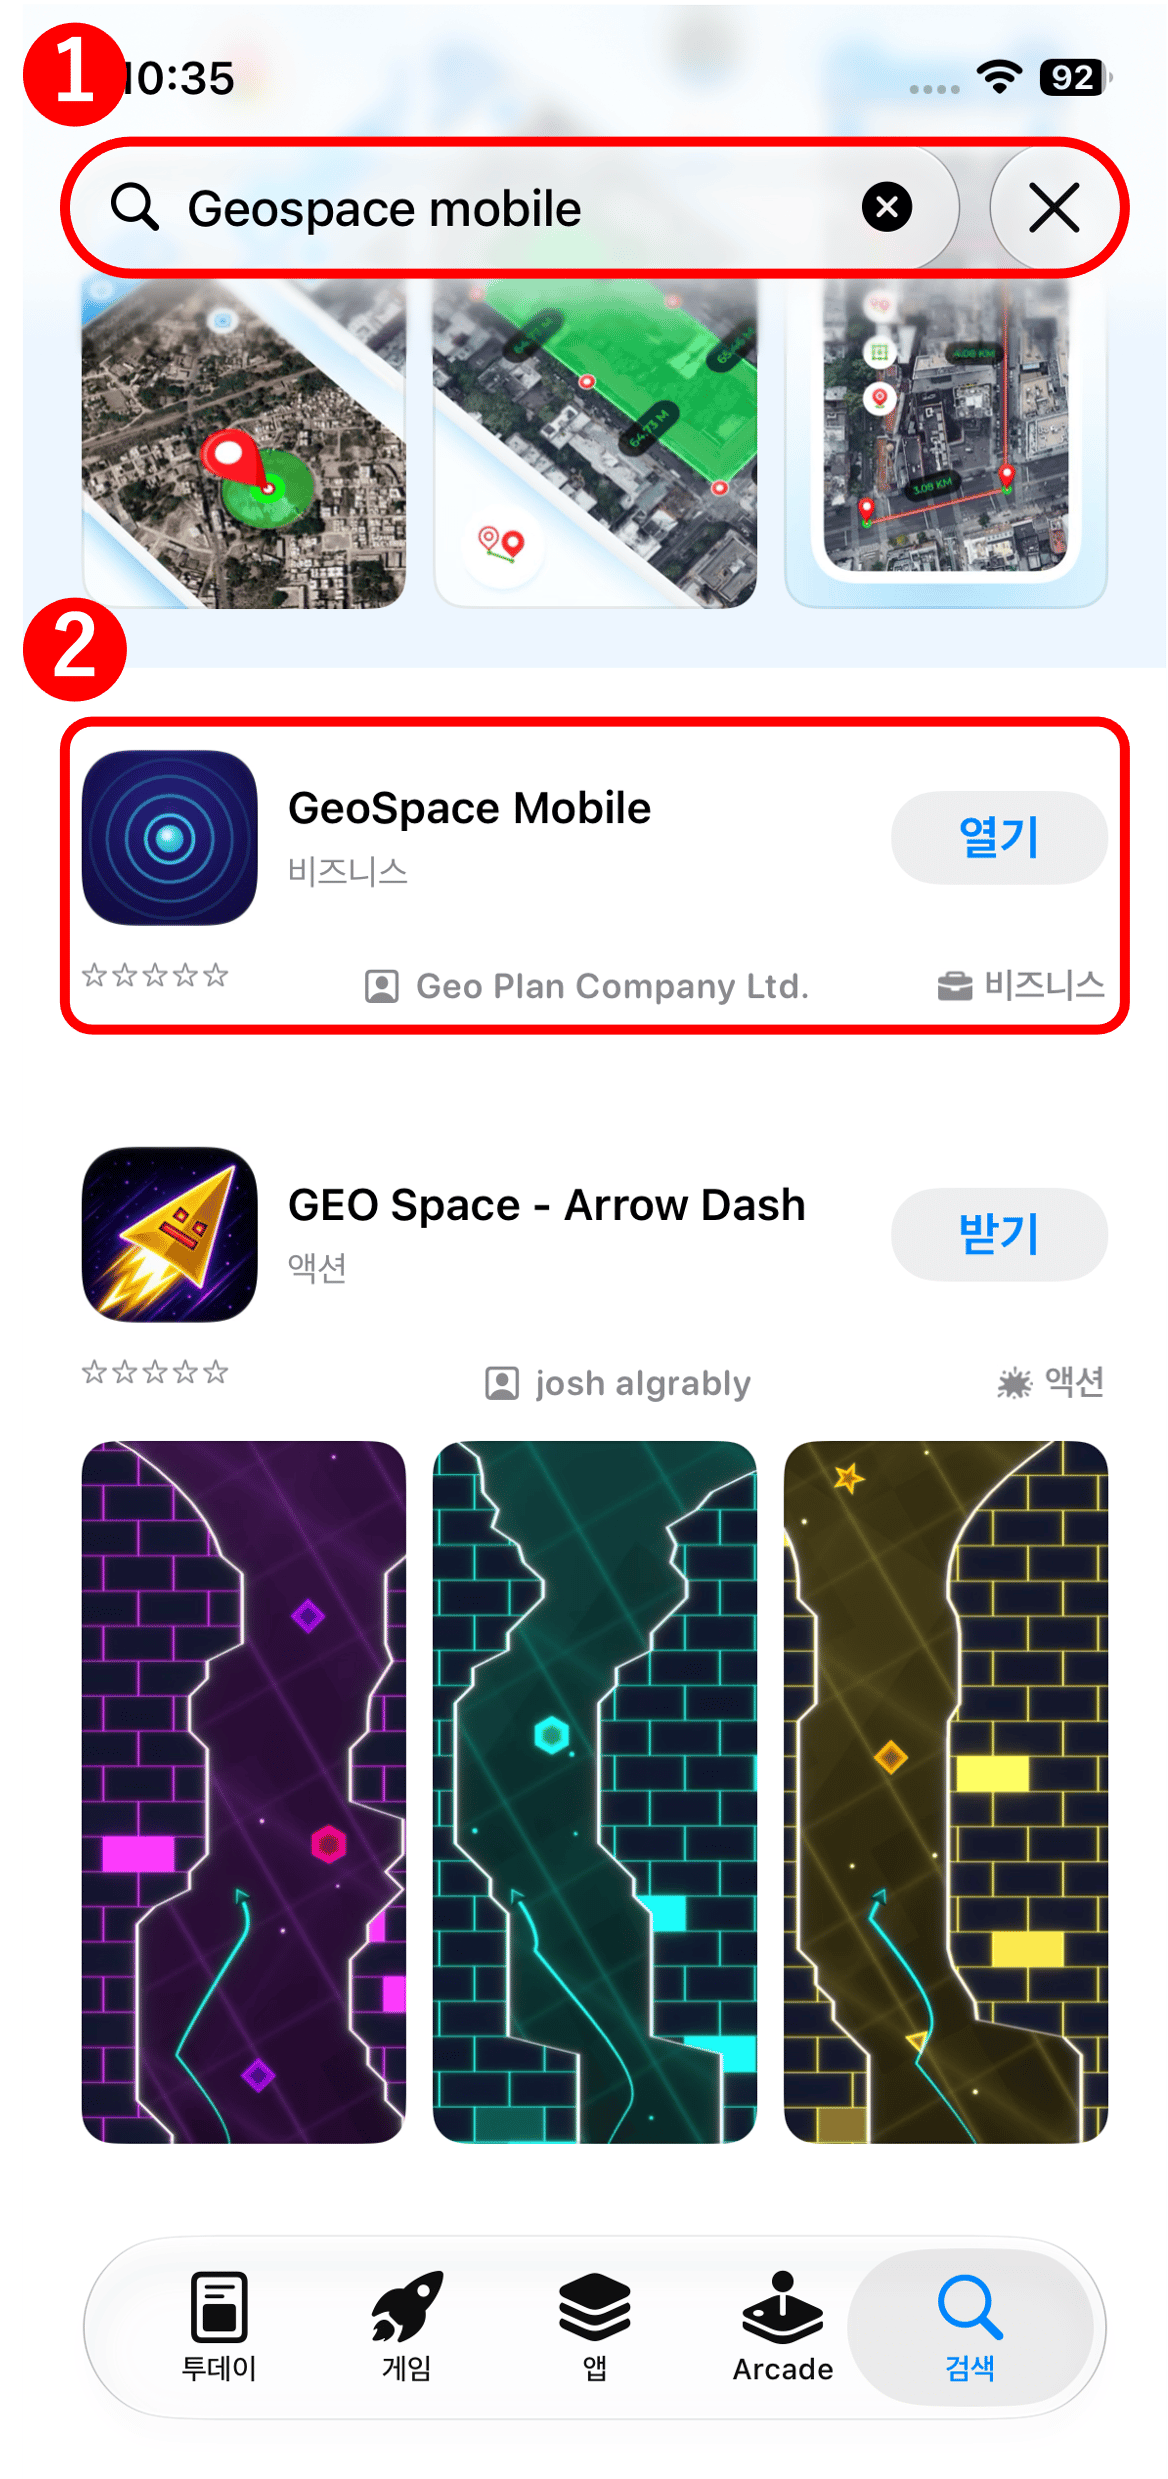
Searching for GeoSpace Mobile in the App Store: search box and the GeoSpace Mobile app
  1. Search for ‘GeoSpace Mobile’ in the App Store and install it.
  2. Once installed, open GeoSpace Mobile.
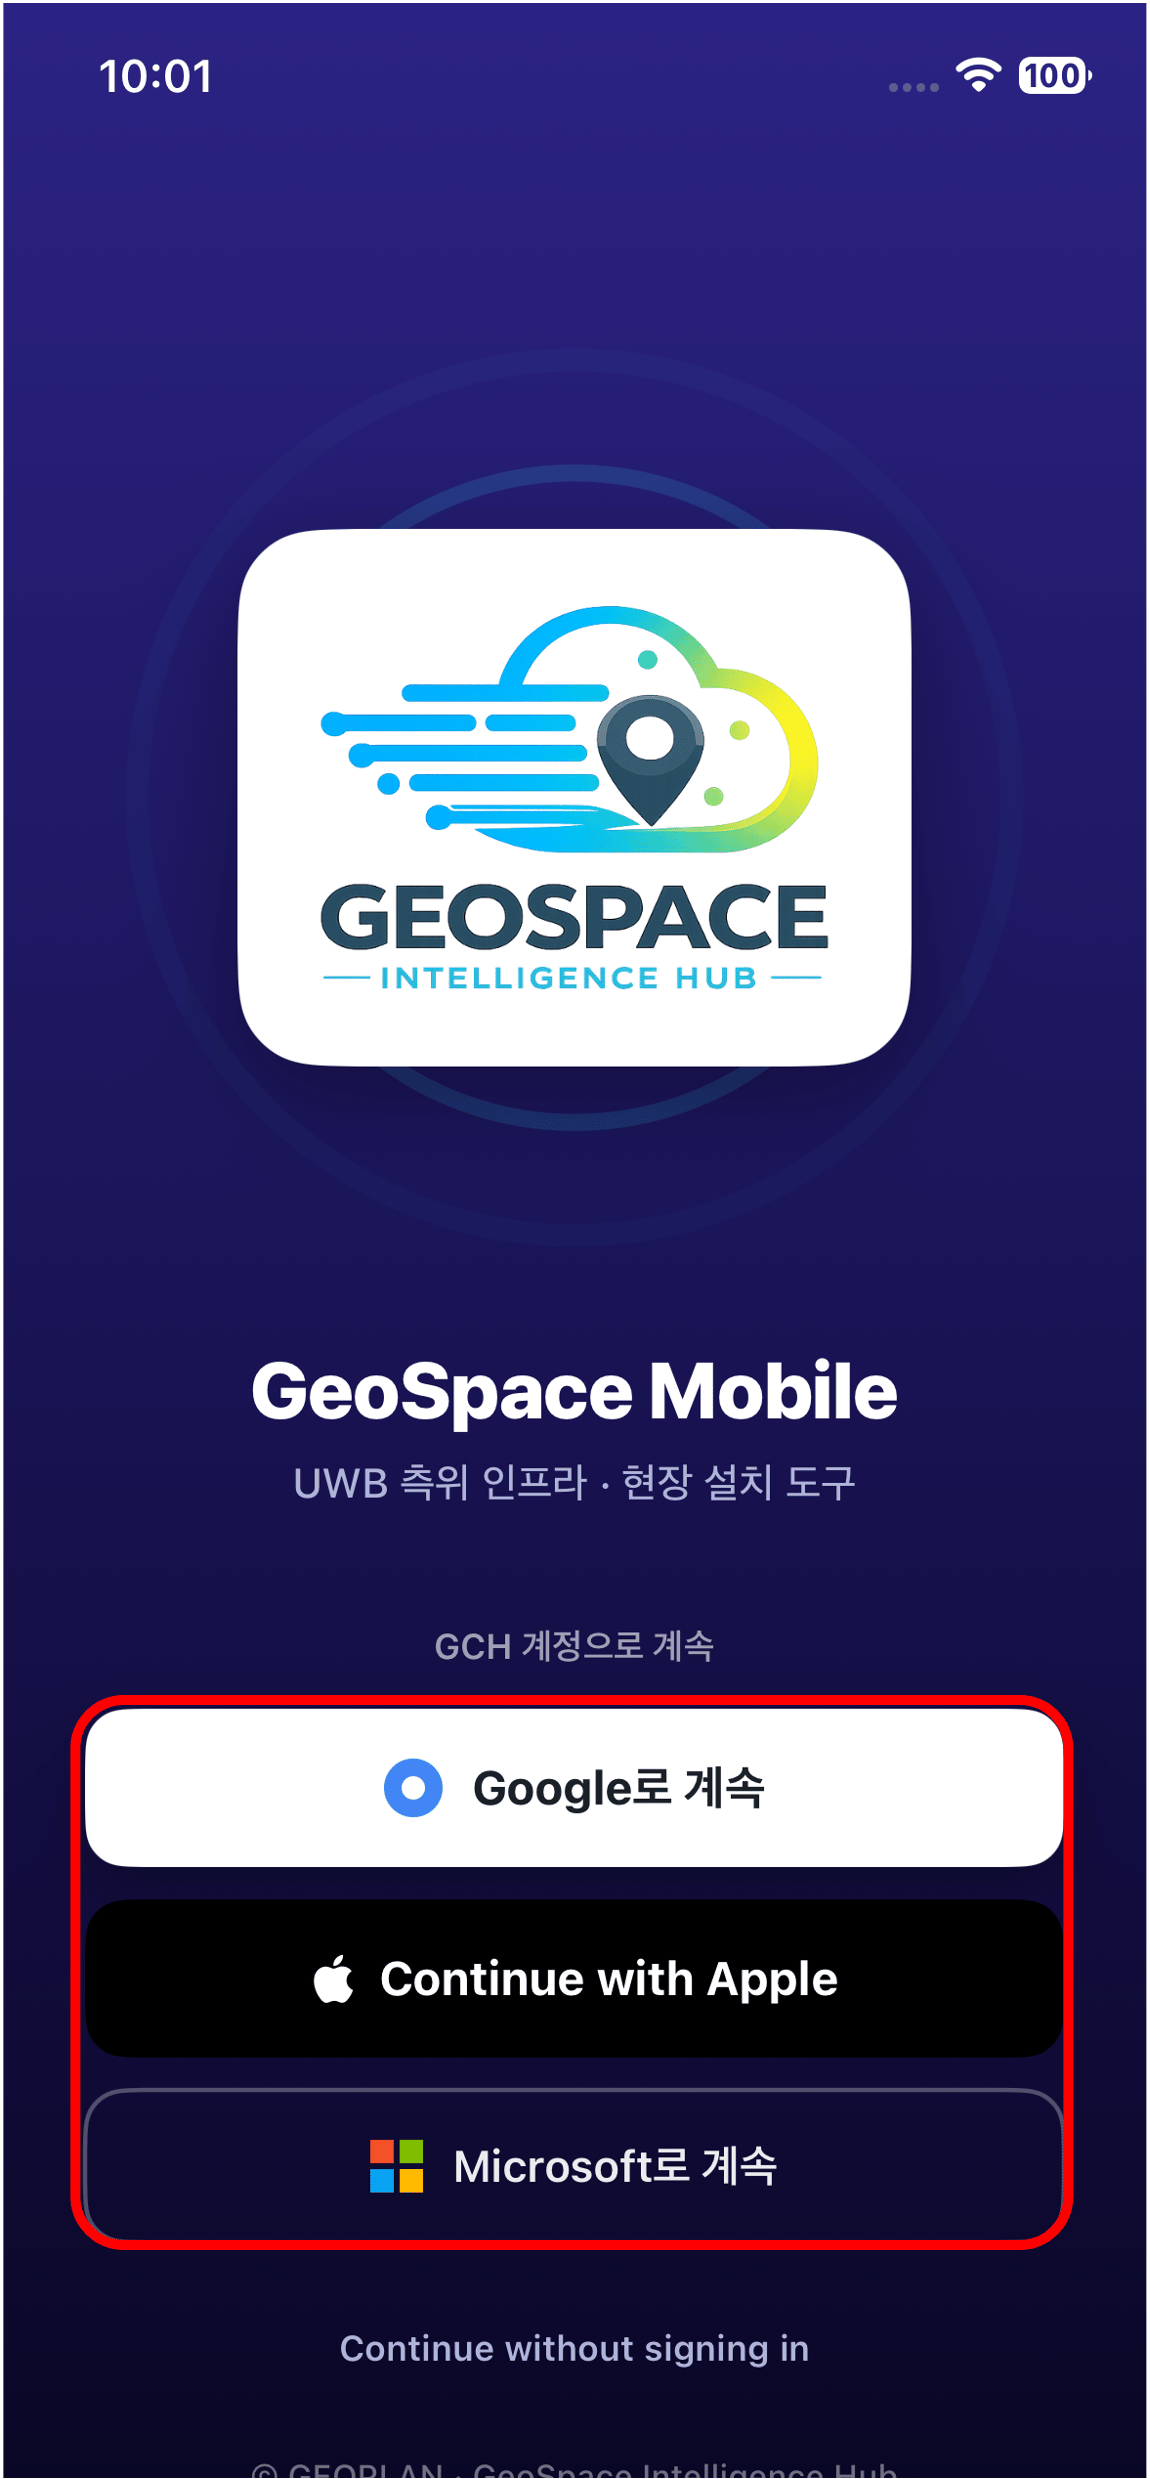
GeoSpace Mobile login screen: log in with a Google, Apple, or Microsoft account
  1. On the login screen, log in with the account you use.
Logging in requires 2. Account Registration to be complete.

2) Device Provisioning
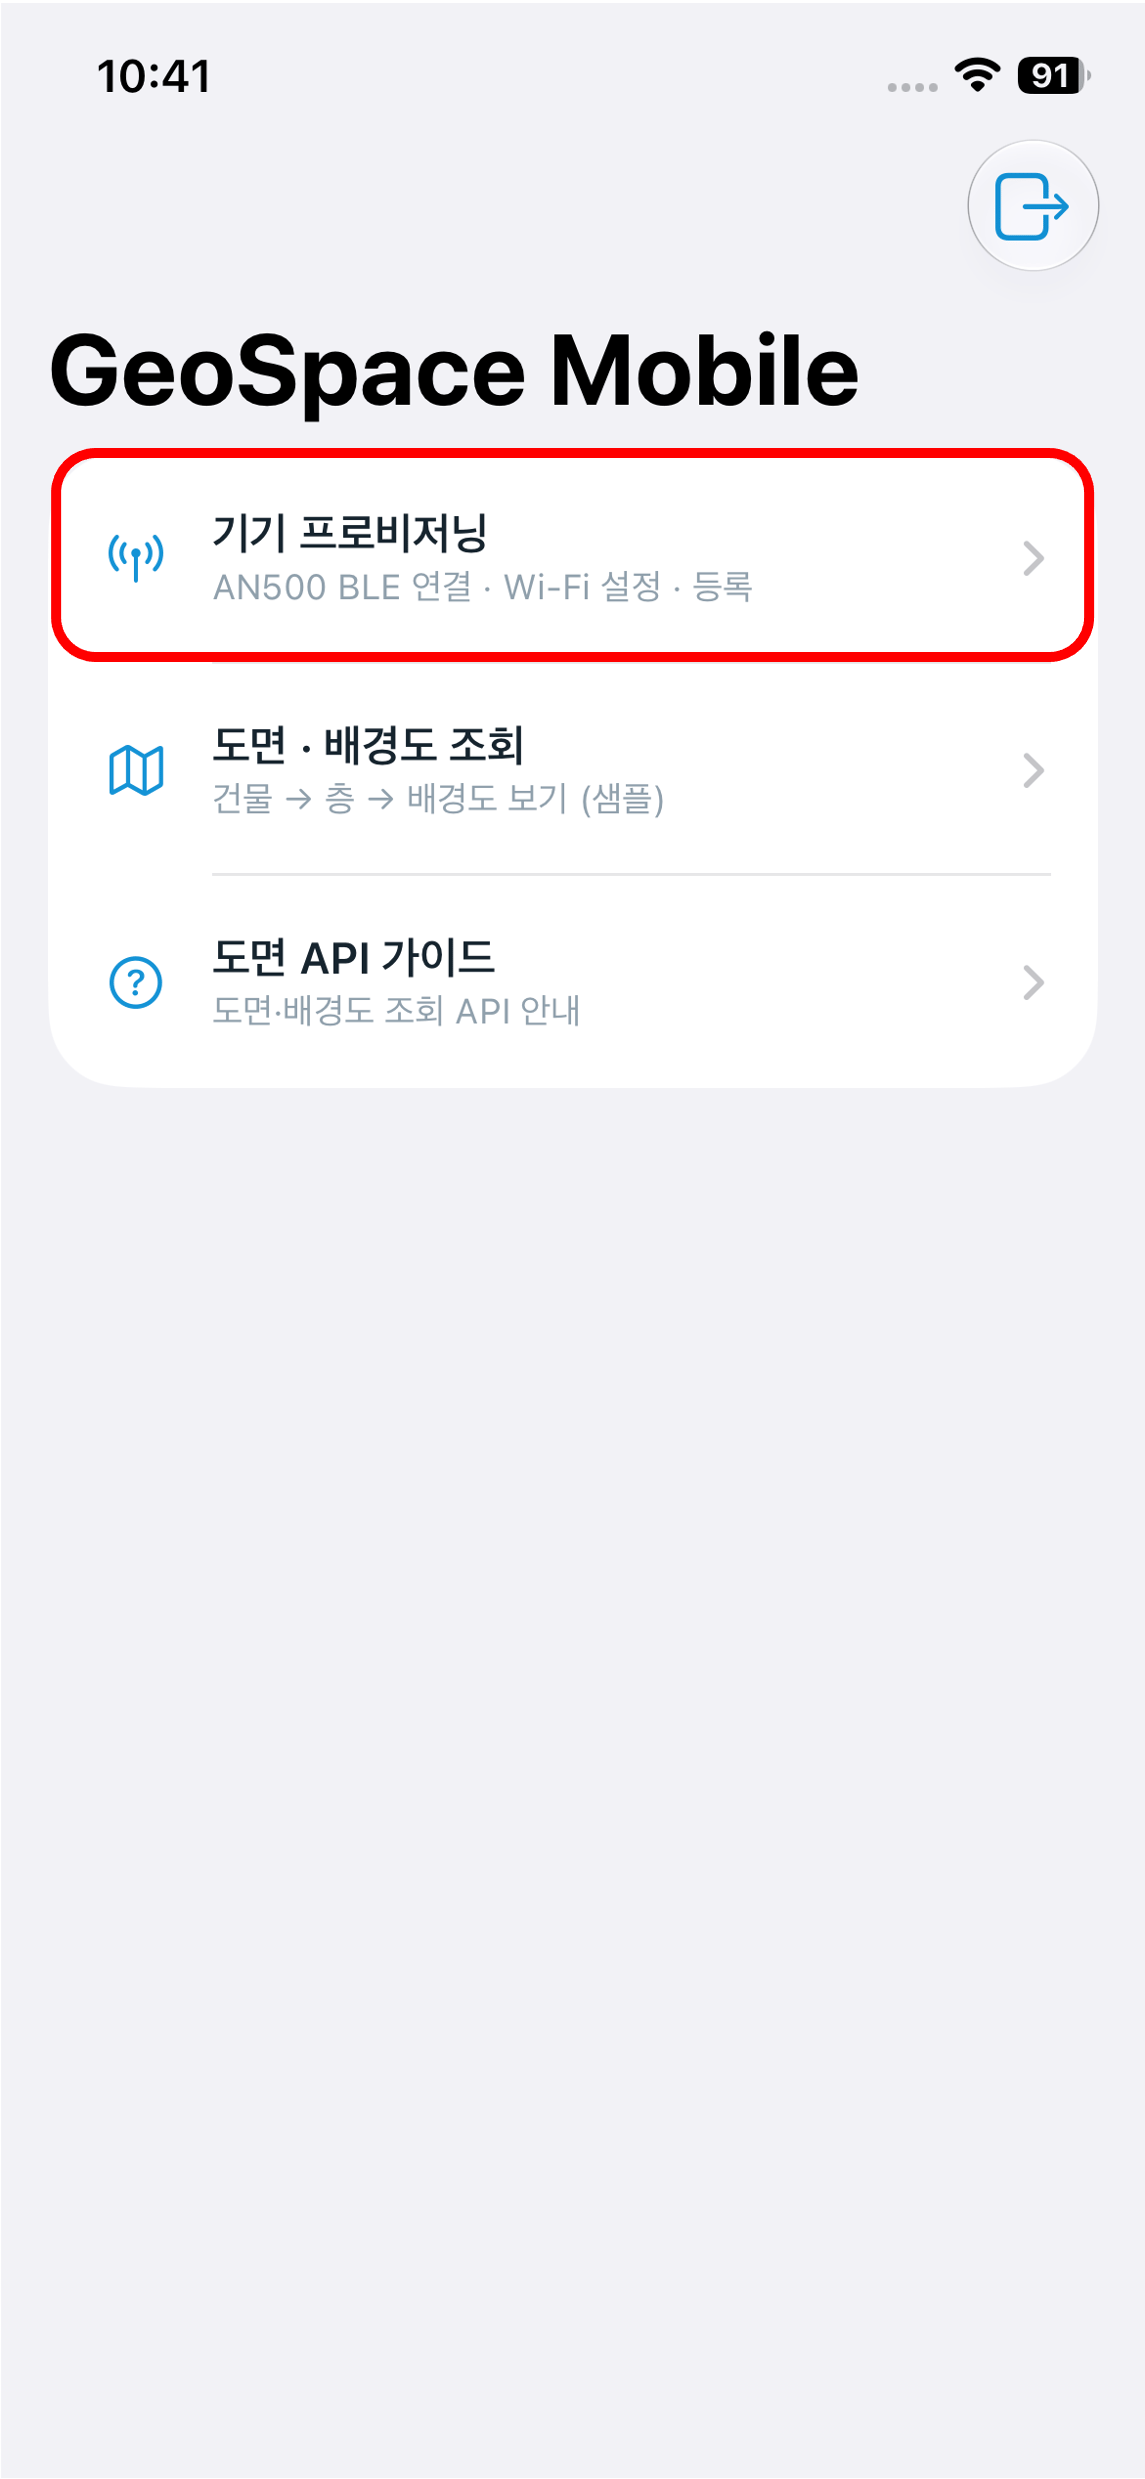
GeoSpace Mobile home screen: Device Provisioning menu (AN500 BLE connection · Wi-Fi setup · registration)
From the home screen, open the [Device Provisioning] menu. Provisioning proceeds in order following the progress indicator at the top of the screen (1/6 to 6/6). (1) Search for nearby devices
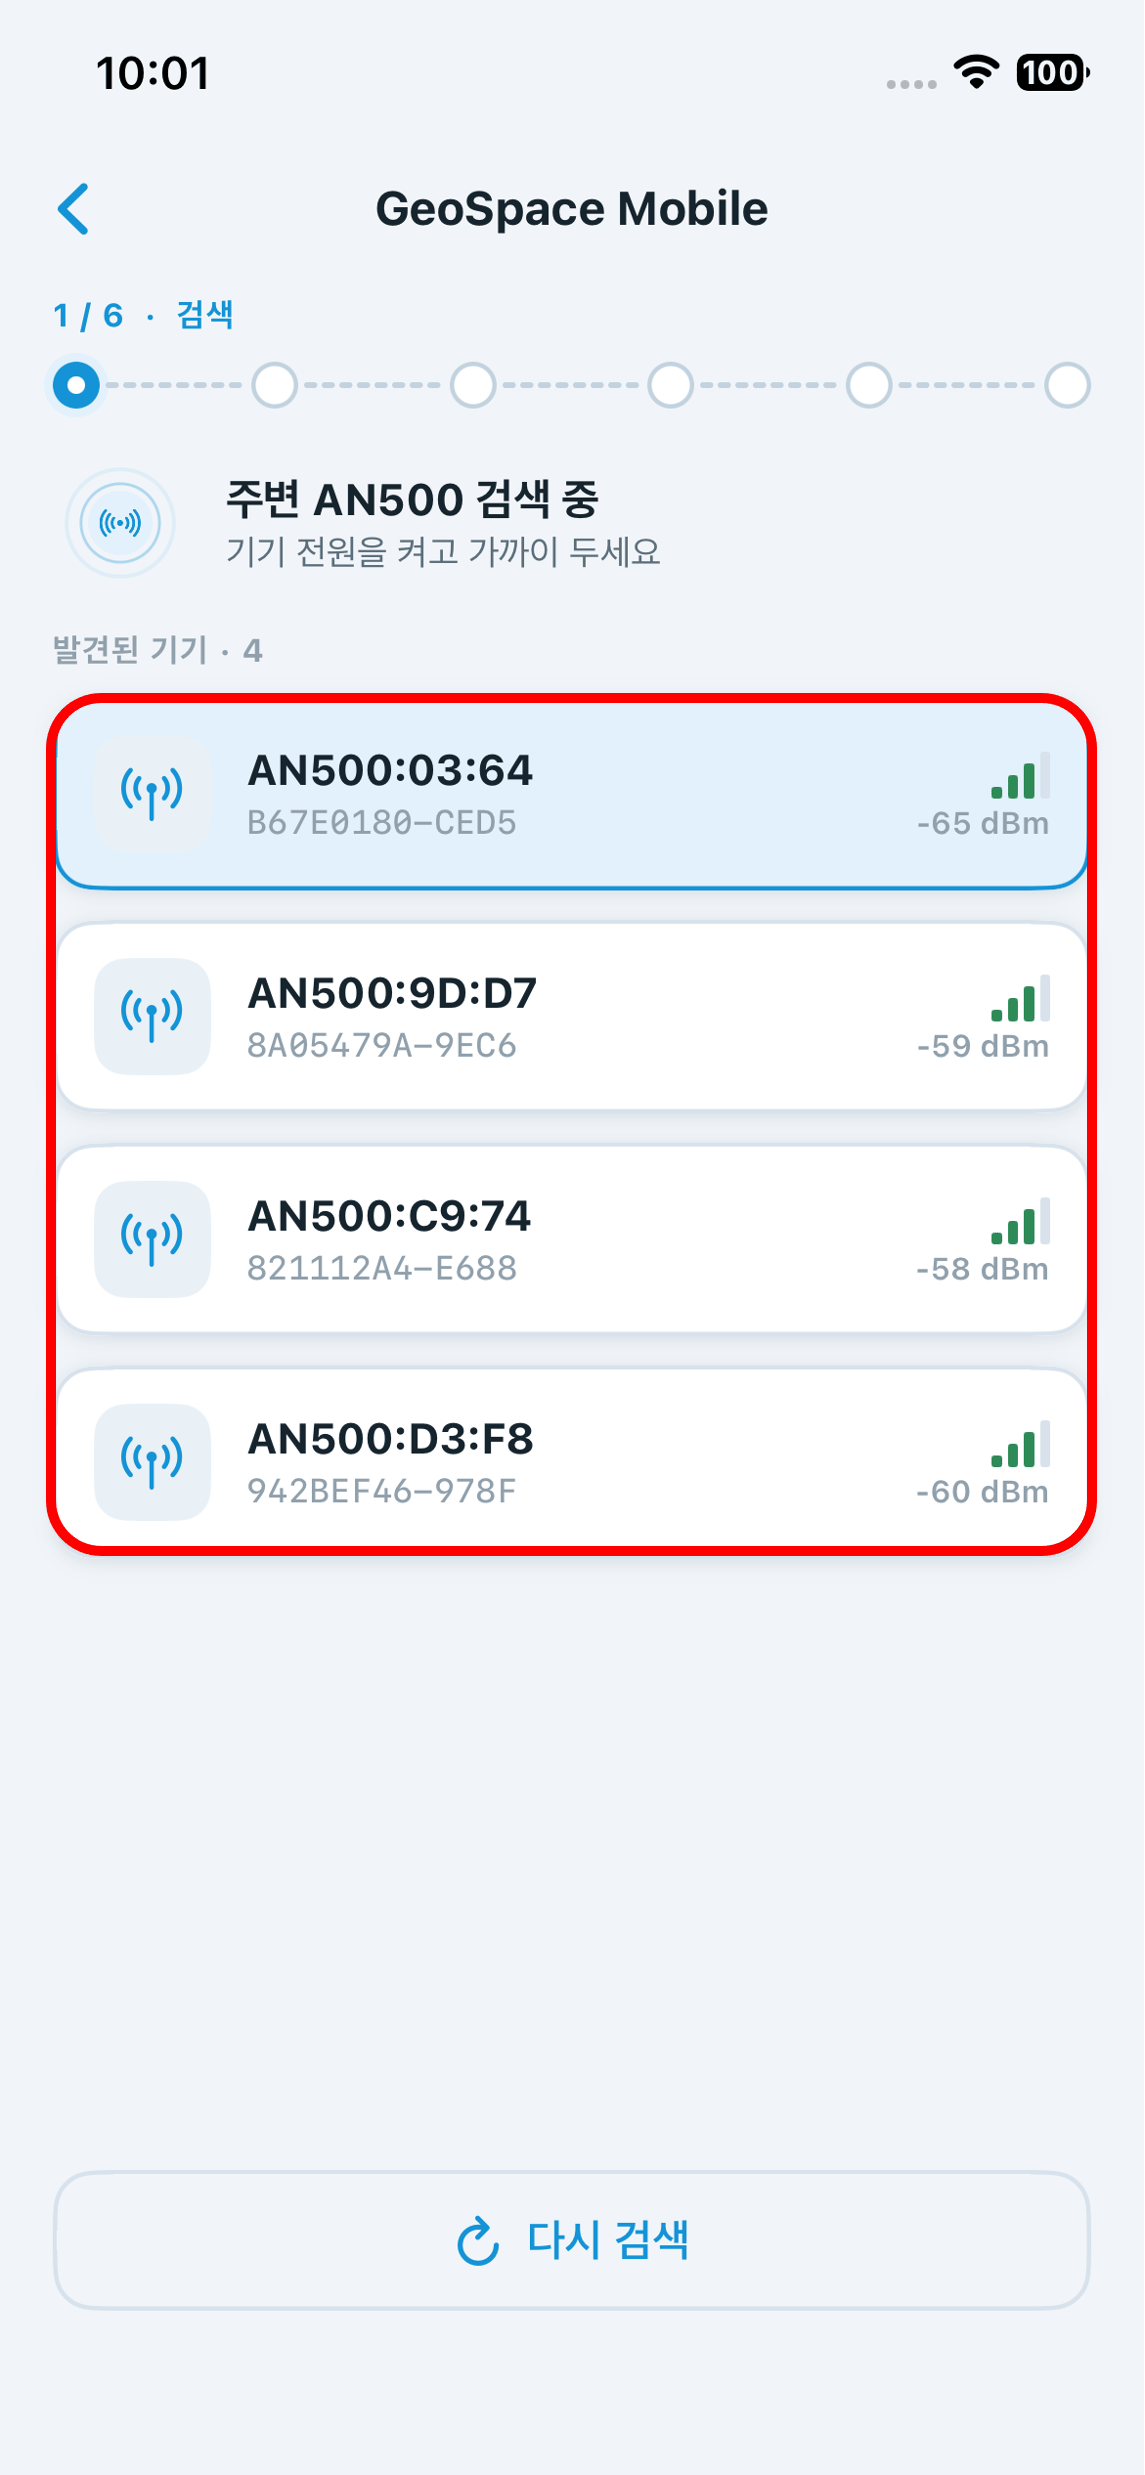
Nearby AN500 search screen: list of 4 discovered devices and a search again button
Entering [Device Provisioning] automatically searches for nearby AN500 devices. A device appears in the list only when your phone’s Bluetooth and the locator’s power are both on, so check both and stay close to the device.
  • Select the locator to register from the discovered list. Identify it by matching the last 4 digits of the device name (e.g., AN500:03:64) with the MAC digits you wrote on the front in 4. On-Site Locator Installation.
  • If the device does not appear in the list, click [Search Again].
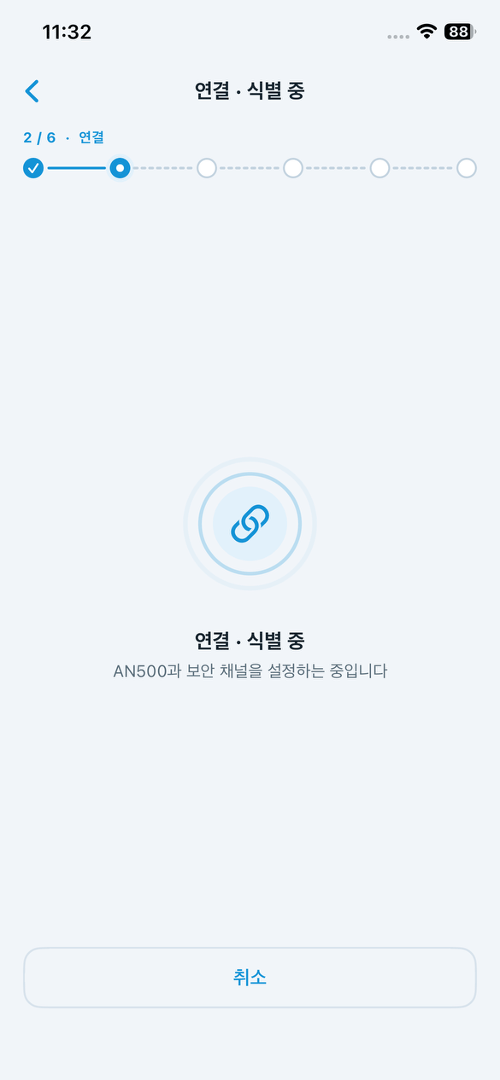
(2) Connect · identify
Connecting and identifying screen: setting up a secure channel with the AN500
A secure channel is set up with the selected locator. It runs automatically; wait until it completes.
The connection can fail with a ‘Connection failed (device response timeout)’ message.
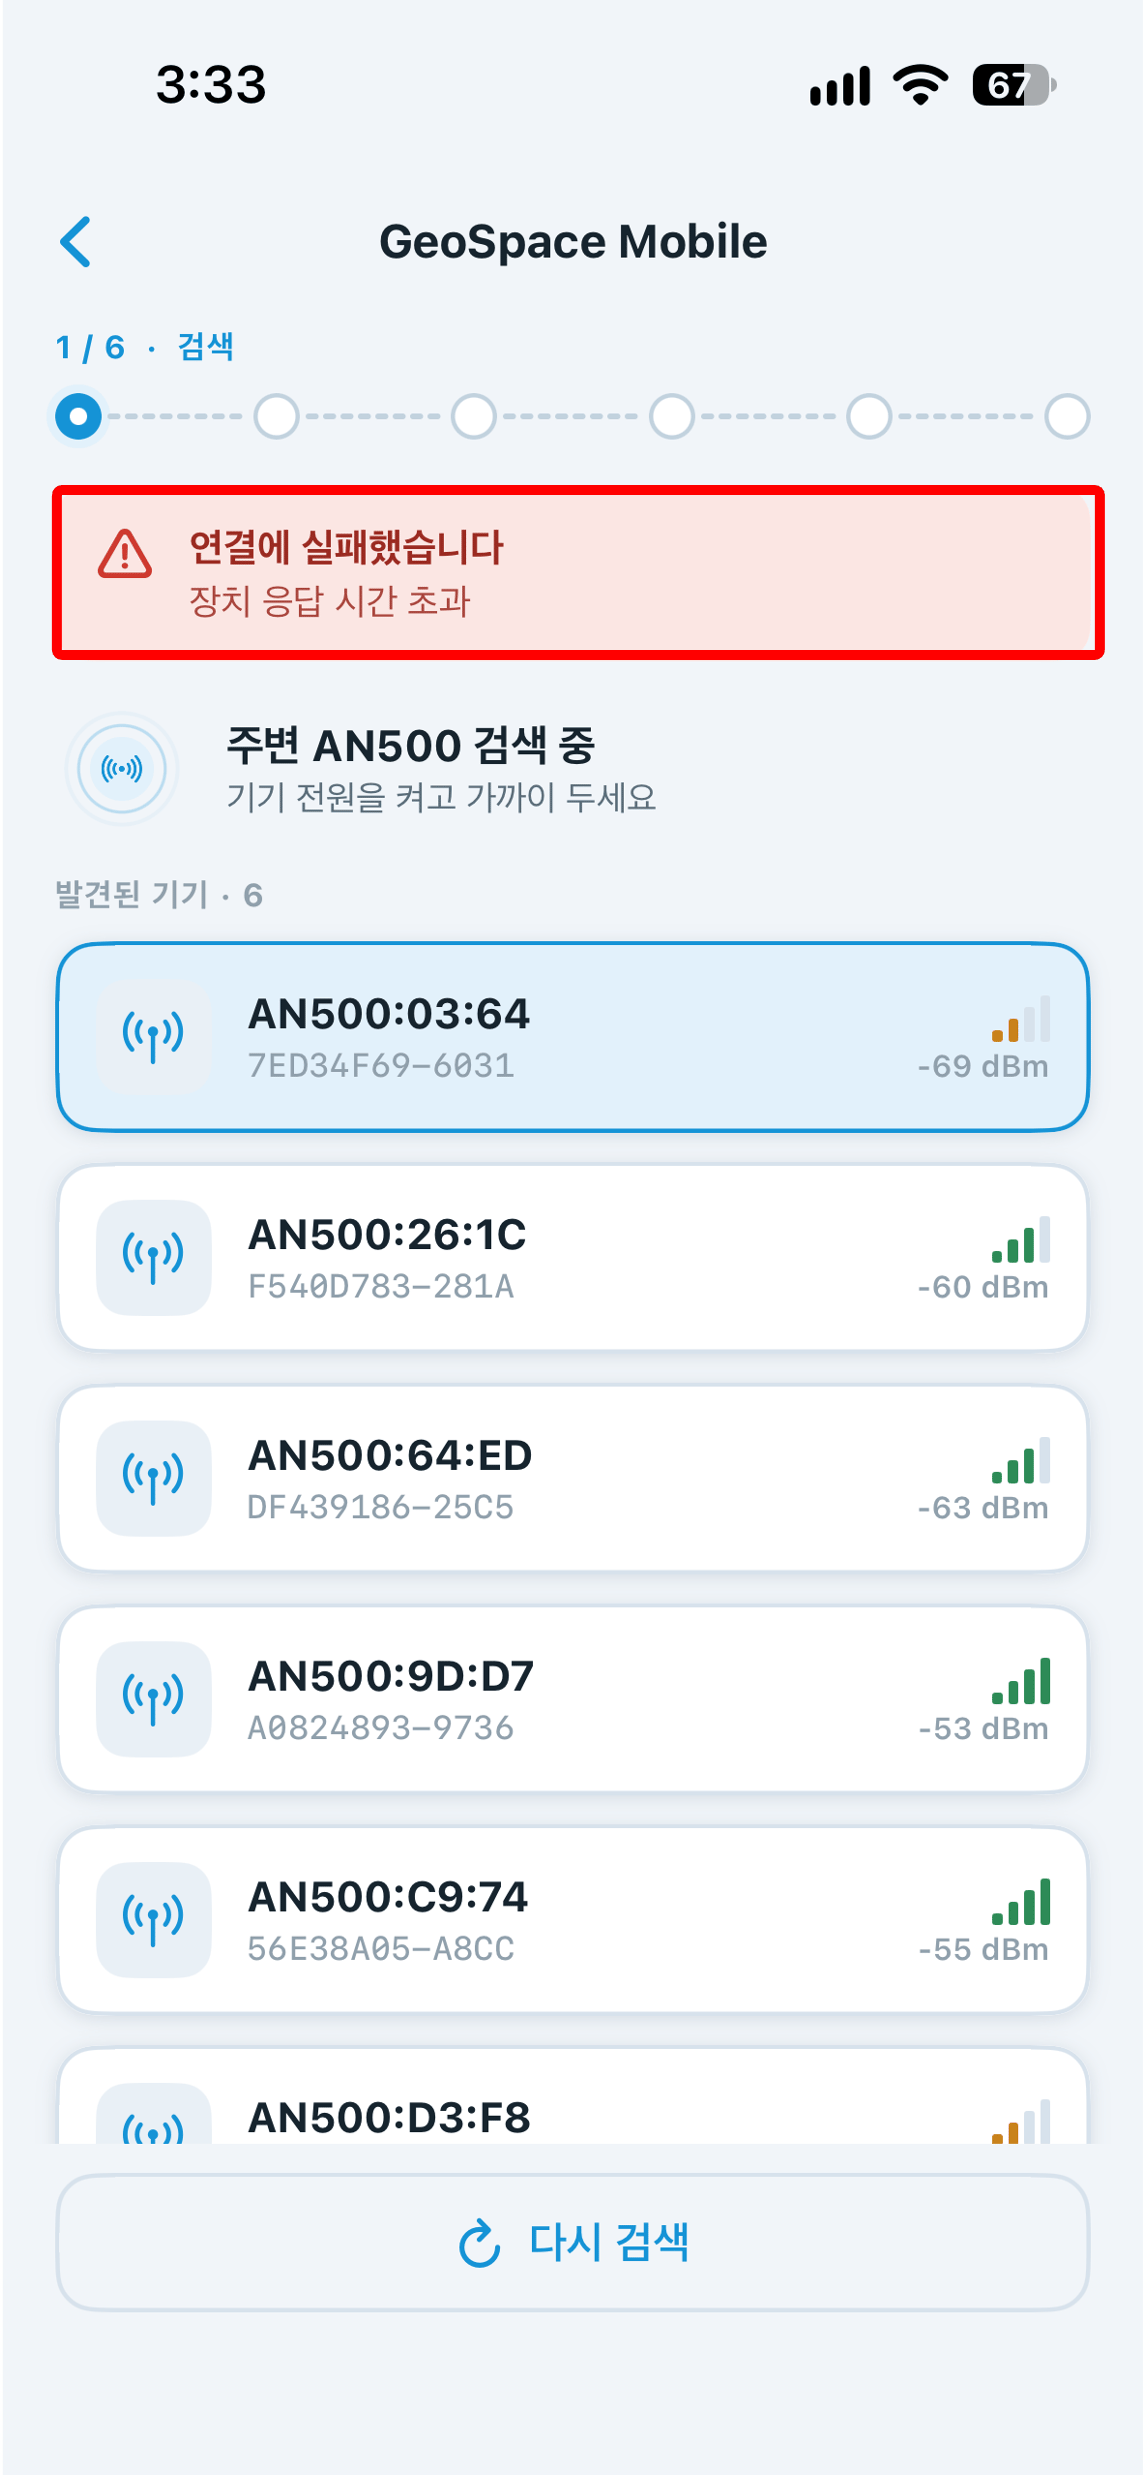
Connection failure screen: the connection failed (device response timeout) notice with the discovered device list and the search again button
In that case, click [Search Again] to re-scan, select the locator from the list again, and retry until it connects.
When retrying, keep the phone as close to the locator as possible, touching it.
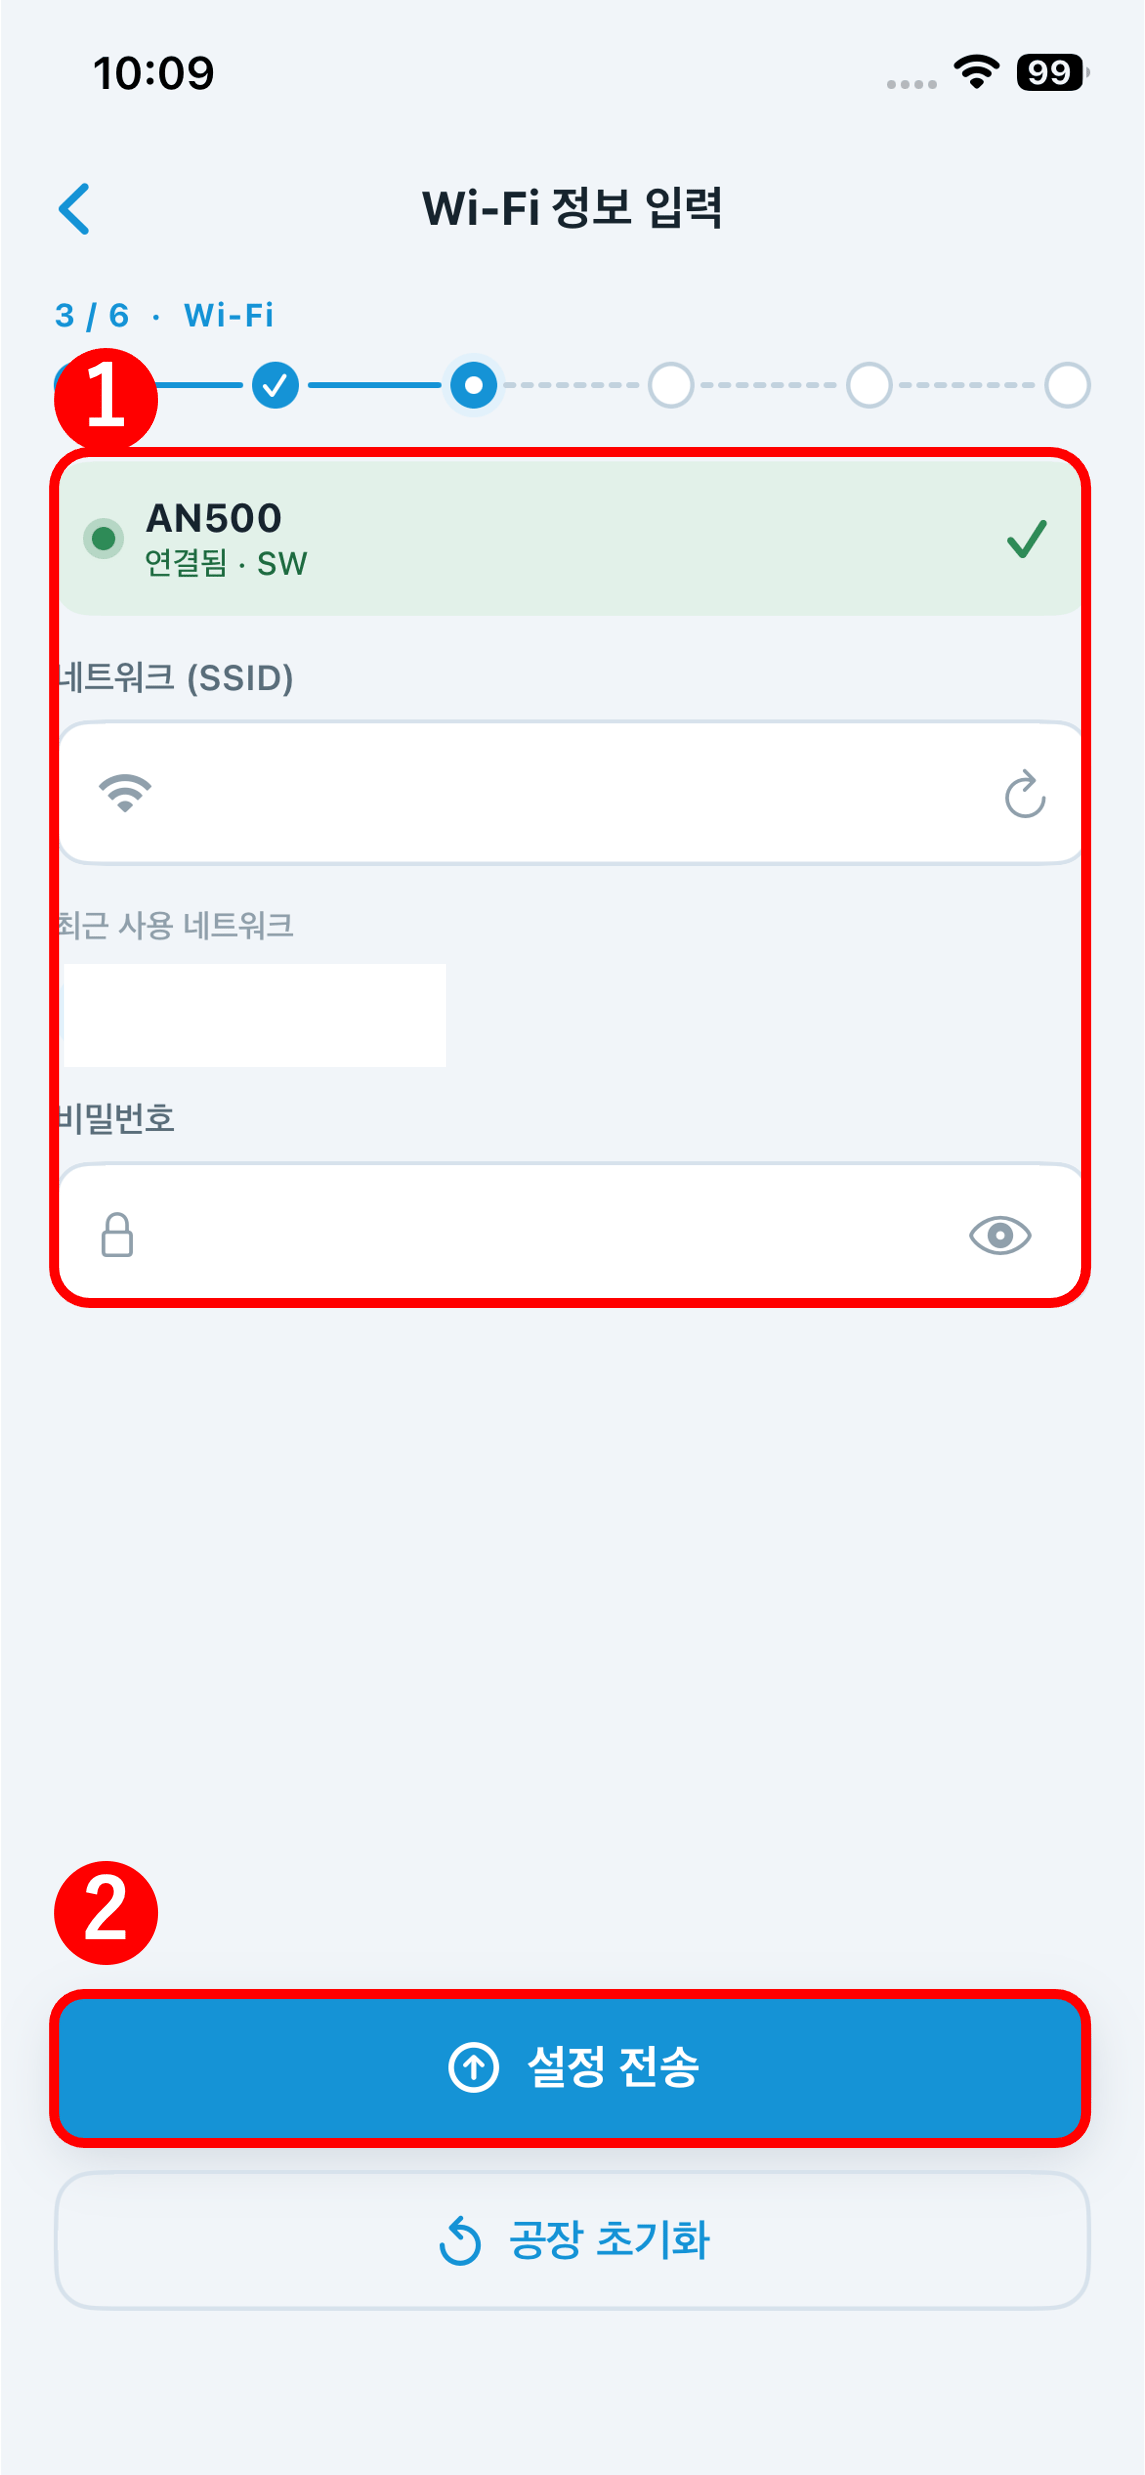
(3) Enter Wi-Fi details
Wi-Fi details screen: network (SSID) and password inputs with a send settings button
Configure the Wi-Fi network the locator will use.
Locator Wi-Fi supports 2.4 GHz networks only. 5 GHz networks will not connect, so enter a 2.4 GHz network SSID.
  1. Enter the network (SSID) and password.
  2. Click [Send Settings].
Do not use [Factory Reset] at the bottom; it is not covered in this manual.
(4) Sending settings The Wi-Fi details are sent to the locator. When the transfer completes, the device reboots automatically.
  • The reboot takes about 30 seconds; keep the connection and wait until it completes.
(5) Registration Registering the locator for management runs automatically. It shows briefly with no action needed, then moves to the next step. (6) Done When ‘Completed’ appears, provisioning for that locator is finished. Provisioned locators are registered automatically in the GeoSpace [Hardware Management] menu. Repeat steps (1) to (6) for the remaining locators until all are registered.

3) Confirming Registration

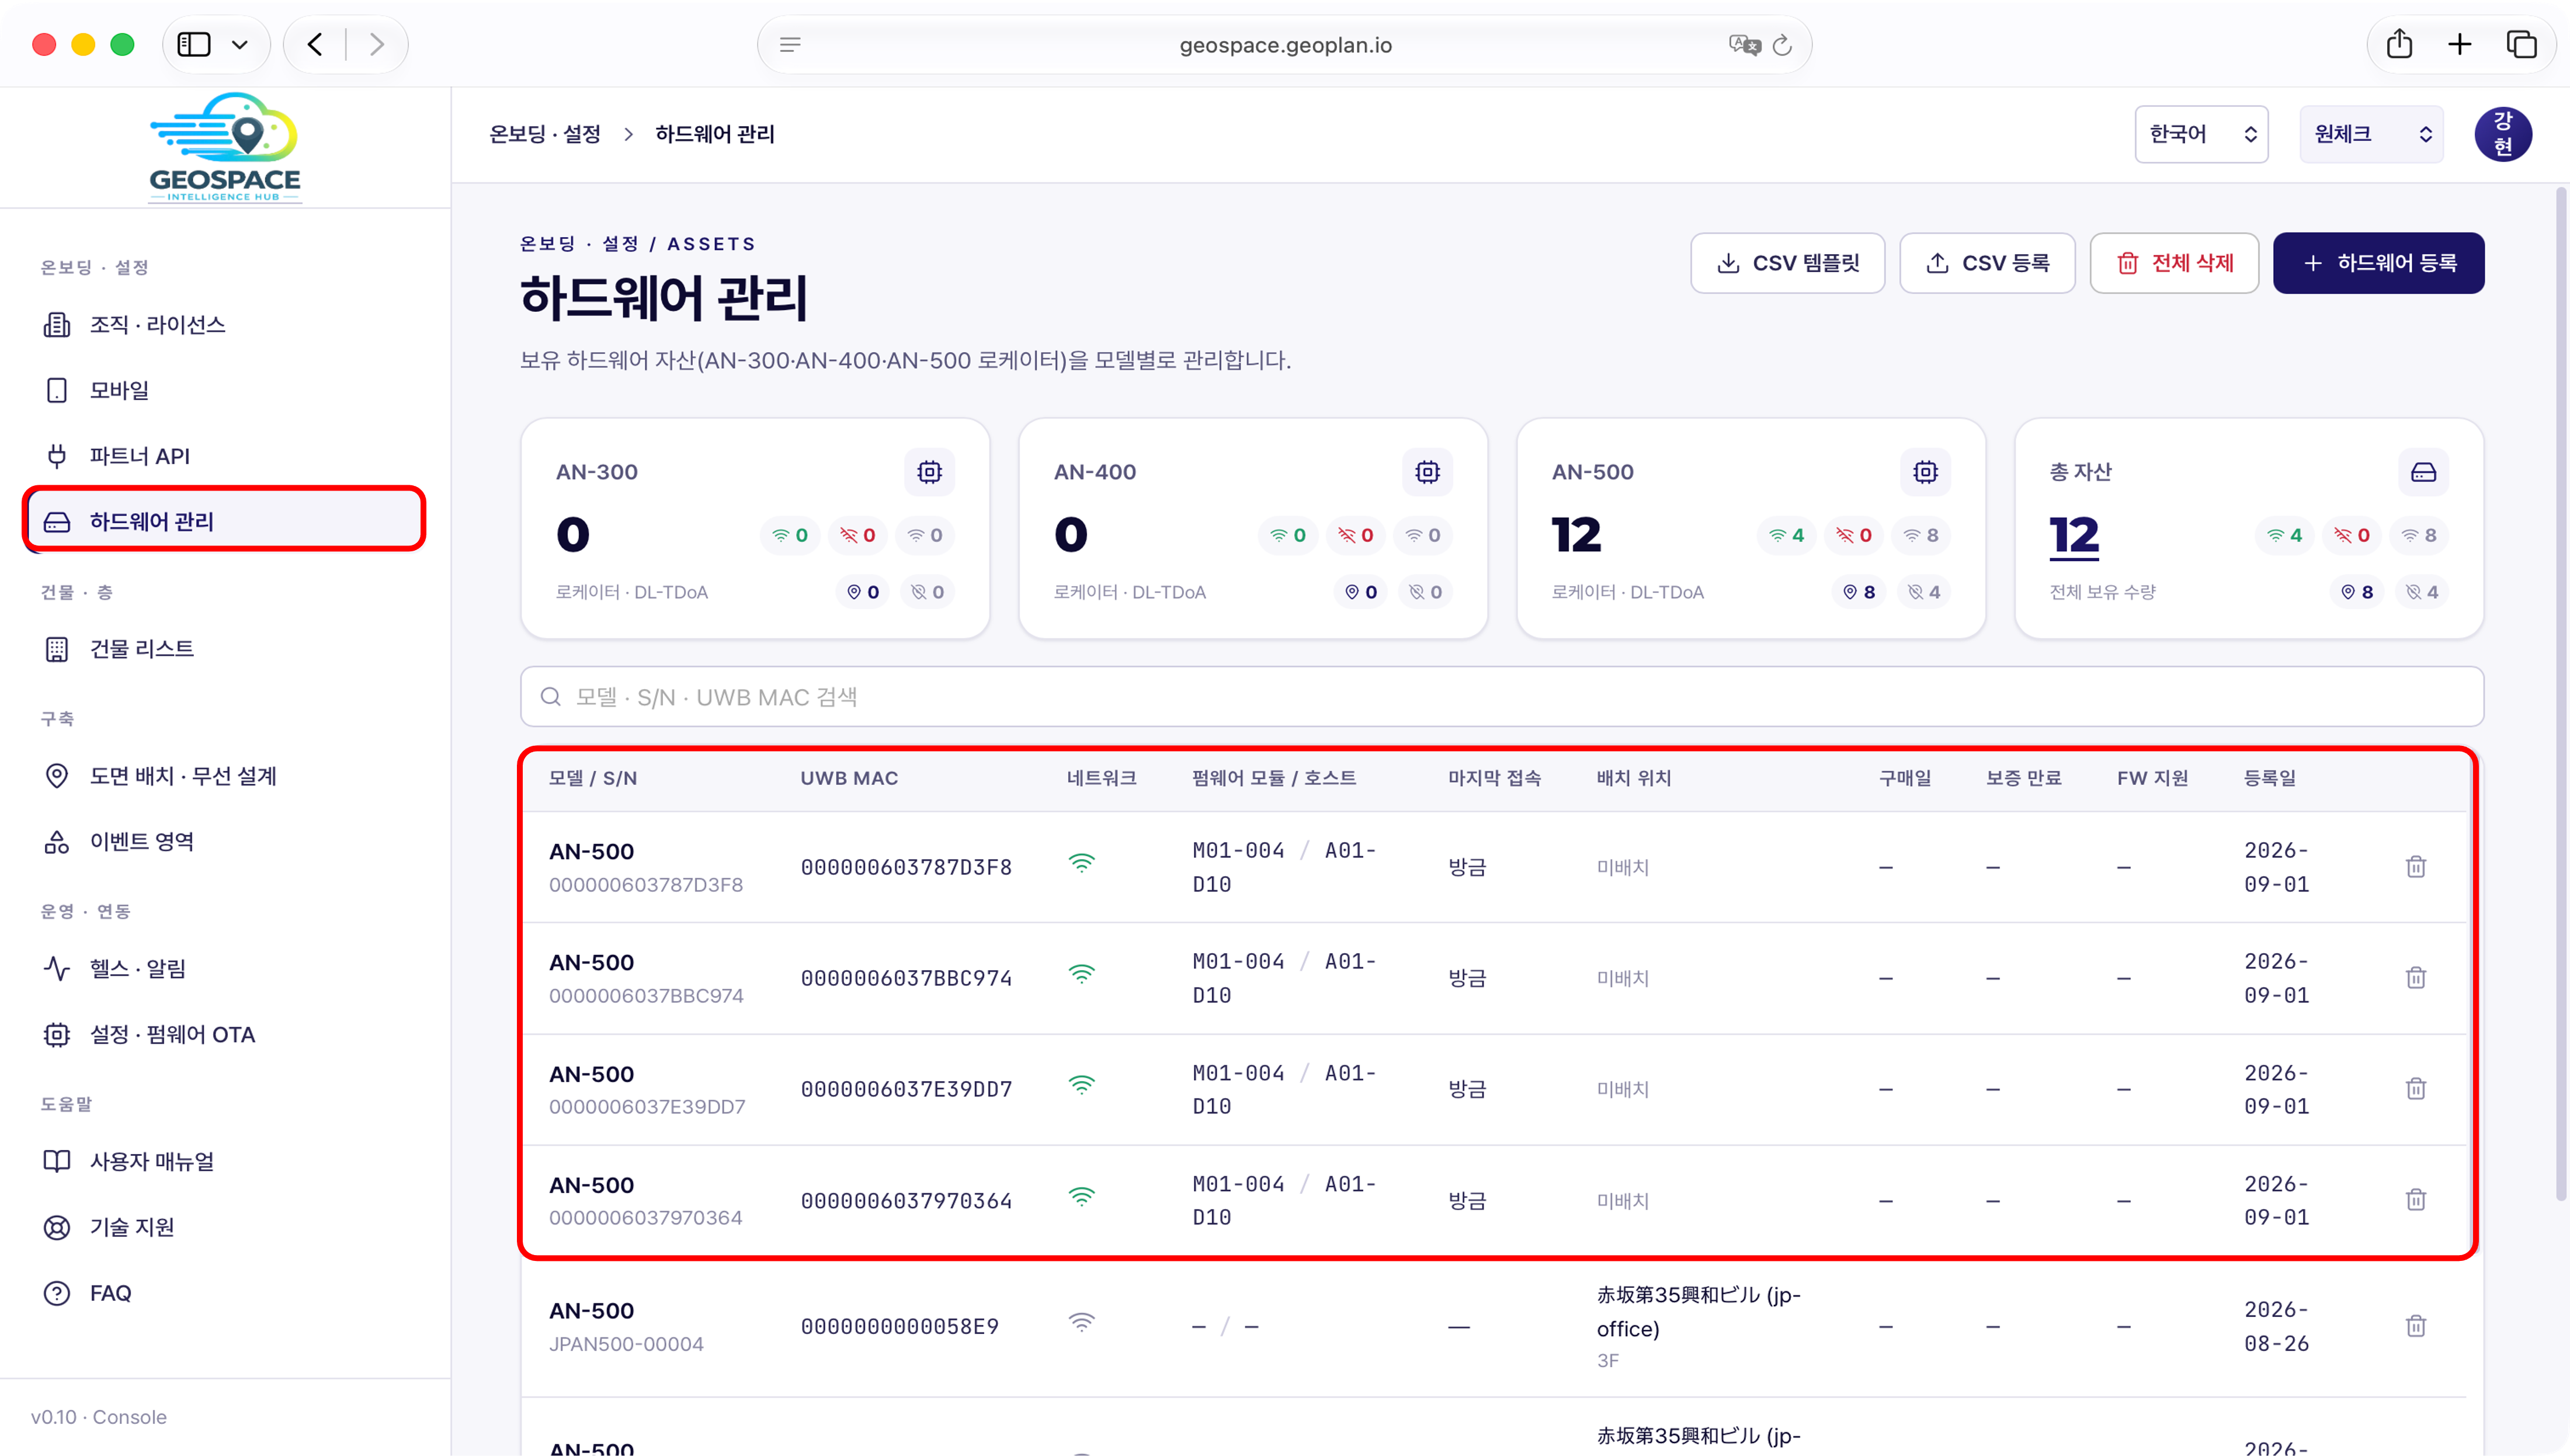
GeoSpace Hardware Management screen: list of 4 AN-500 devices registered via provisioning (UWB MAC · network · last connected · placement)
You can check the registered devices in the GeoSpace [Hardware Management] menu.
  • Confirm all registered locators appear in the list. Match the last 4 digits of each UWB MAC address against the digits written on the locator’s front.
  • Confirm the network (Wi-Fi) connection status and the ‘Last connected’ time are shown.
  • Confirm each locator’s top LED is green and its bottom LED is blue (server connected). (For LED positions and color meanings, see the LED tables in 4. On-Site Locator Installation.)
  • ‘Placement’ shows as ‘Unplaced’ at this point; it is filled in once the locator is placed on the plan in 6. Activating Positioning.

Checklist

Once all items below are confirmed, you can move on to the next step.